

Resistance band exercises are one of the simplest, most effective, and budget-friendly ways to build real strength at home—no bulky equipment required. These incredibly versatile tools offer something called variable resistance, which means they challenge your muscles through the entire range of motion. If you're looking for a foundational tool for a full-body workout, you've found it.
Why Resistance Bands Are Your Secret Weapon for Home Fitness
Let's be real: the thought of setting up a home gym can be intimidating. Most people immediately picture clunky dumbbells, heavy barbells, and machines that take up an entire room. This is exactly where resistance bands come in and completely change the game for anyone serious about getting fit at home. They're the ultimate minimalist solution for getting maximalist results.
Unlike free weights, which rely on gravity, resistance bands challenge your muscles in a unique way. The tension actually increases the more you stretch the band. This forces your muscles to work harder at the toughest part of a movement—think the top of a bicep curl or the peak of a glute bridge—which can lead to better muscle activation and strength gains. That constant tension keeps everything engaged from start to finish.
Unmatched Versatility and Portability
The real magic of resistance bands is just how much you can do with them. You can run through a massive library of exercises targeting every major muscle group, from squats and lunges to rows and overhead presses. It's essentially an entire gym that fits into a small drawer or your travel bag, making them perfect for anyone with limited space or a busy travel schedule.
To really get why this works so well, it's helpful to understand the core principles of resistance training. Grasping how muscles adapt helps you appreciate how these simple elastic tools can stimulate serious growth.
This convenience hasn't gone unnoticed. As more people have shifted to working out at home, the global resistance bands market has exploded. One analysis valued it at $1.66 billion, with projections showing it could skyrocket to nearly $2.92 billion by 2030. This isn't just a fad; it reflects a major shift in how people are prioritizing effective, accessible fitness solutions.
Joint-Friendly Strength Building
Another huge advantage is how easy bands are on your joints. Since you aren't fighting gravity the same way you are with heavy weights, there's significantly less stress on your knees, elbows, and shoulders. This makes resistance bands a fantastic choice for a wide range of people:
- Beginners just getting started on their fitness journey.
- Anyone recovering from an injury who needs a safe way to rebuild strength.
- Older adults looking for low-impact yet effective workouts.
- Seasoned athletes using them for activation drills or to add accommodating resistance to their lifts.
The beauty of resistance bands is their scalability. You can instantly make an exercise easier or harder by changing your grip, grabbing a heavier band, or even combining bands. This means the workout grows with you, from your first day to your hundredth.
Ultimately, resistance bands are a cornerstone of any good home gym. If you're building out your personal workout space, they're one of the first things you should grab. They are living proof that you don’t need a room full of expensive gear to get a powerful, full-body workout. For more ideas, check out our guide on other home workout equipment essentials.
Choosing the Right Bands for Your Fitness Goals
Walking into the world of resistance bands can feel a bit like being a kid in a candy store. There are so many colors, shapes, and sizes. But picking the right one isn't just about aesthetics; it's about matching the tool to your goal to make sure your resistance band exercises at home are actually effective—and safe.
Using a band that's too light won't give you the challenge you need to see results. On the other hand, grabbing one that's too heavy is a recipe for bad form and potential injury.
Think of it like building a proper toolkit. You wouldn't use a hammer to turn a screw, right? The same logic applies here. Each type of band is designed for a specific job, whether that's building raw strength, improving mobility, or activating smaller muscle groups. This versatility is exactly why so many people choose bands for their home workouts—they offer a simple, targeted solution without the cost and complexity of a full gym.
This flowchart breaks down that initial decision perfectly.
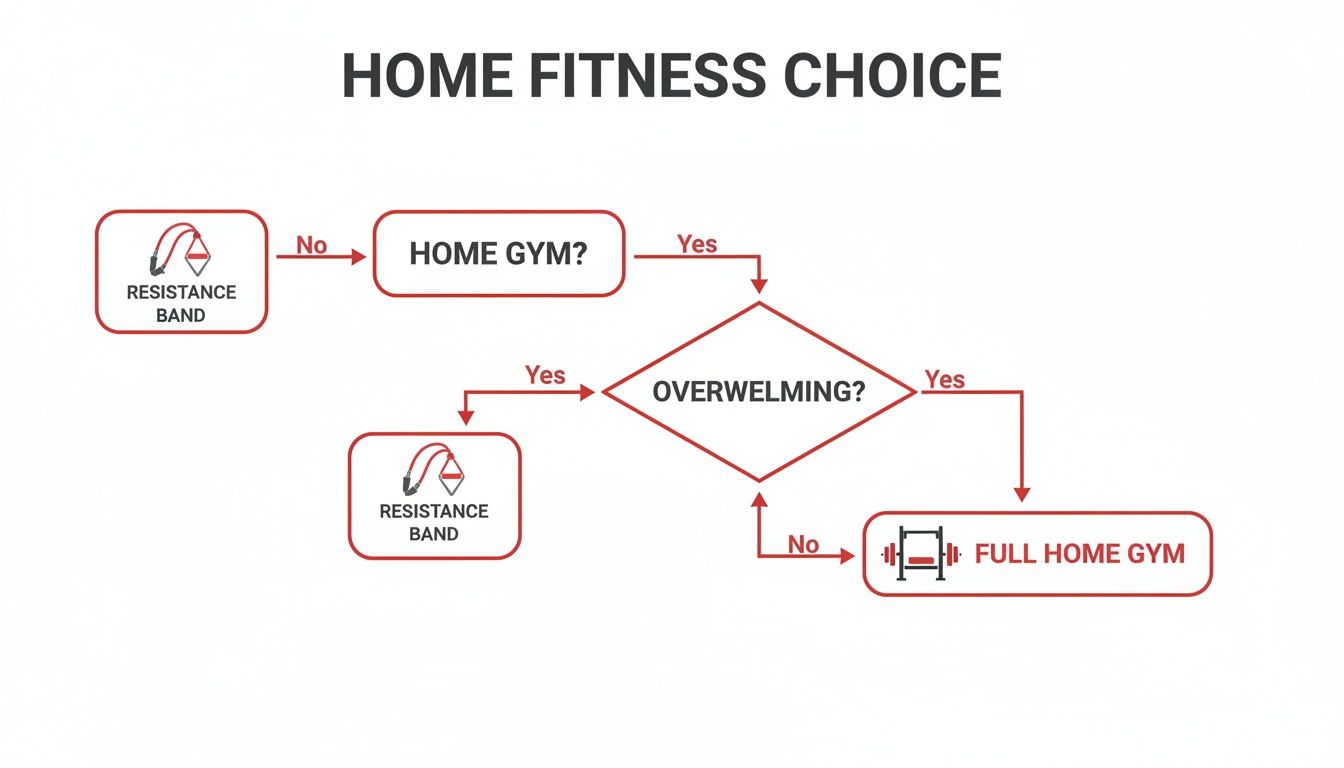
As you can see, whether you're starting from square one or just feel overwhelmed by equipment options, resistance bands are an ideal entry point.
Your Resistance Band Selection Guide
To make it even clearer, I've put together a quick-reference table to help you match the right band to your fitness goals.
| Band Type | Primary Use Case | Best For Fitness Level | Example Exercises |
|---|---|---|---|
| Heavy-Duty Loop Bands | Strength training, pull-up assistance | Intermediate to Advanced | Assisted Pull-Ups, Banded Squats, Deadlifts |
| Mini Loop Bands | Glute activation, hip stability | All Levels | Glute Bridges, Clamshells, Lateral Band Walks |
| Tube Bands w/ Handles | Replicating traditional gym exercises | Beginner to Intermediate | Bicep Curls, Chest Presses, Overhead Presses |
| Floss Bands | Mobility, joint compression, fast recovery | All Levels | Ankle Flossing, Shoulder Flossing, Knee Flossing |
This table should give you a solid starting point, but let's dive into a bit more detail on what makes each of these so useful.
Heavy-Duty Loop Bands for Strength and Assistance
You’ve probably seen serious lifters using these thick, continuous loops. Often called pull-up bands, they are incredibly versatile powerhouses. Their main purpose is twofold: assistance and resistance.
Struggling to nail your first pull-up? This is your new best friend. Just anchor it to the bar, place your foot or knee in the loop, and the band's tension gives you the boost you need to lift your bodyweight with good form. Over time, you’ll build the strength to do it on your own.
Conversely, you can use these same bands to add a challenge to big lifts like squats or deadlifts. Loop them around your feet or a squat rack, and you'll have to fight against the band's tension, making the exercise significantly harder.
Mini Loop Bands for Activation and Stability
These are the smaller, wider fabric or latex bands that usually live around your thighs or ankles. Their main job? To wake up the smaller, often-neglected stabilizer muscles, especially in your hips and glutes.
If you’ve ever noticed your knees caving inward during a squat, these little bands are the fix. Placing one just above your knees during squats, lunges, or glute bridges forces you to actively push your knees out. This simple cue immediately fires up your glute medius, a crucial muscle for hip stability that helps prevent injuries down the line.
Pro Tip: Don't just go through the motions. The key to getting the most out of mini bands is maintaining constant tension throughout the entire movement. Never let the band go slack.
Tube Bands with Handles for Traditional Lifts
If you’re coming from a gym background and are used to dumbbells or cable machines, tube bands will feel instantly familiar. They are long, stretchy tubes with handles on each end, making them perfect for replicating classic strength exercises.
Just stand on the middle of the tube, and you’re ready for bicep curls, overhead presses, or rows. They're fantastic for building upper-body strength and provide a smooth, consistent resistance that’s much easier on your joints than free weights. Plus, you can easily adjust the tension on the fly by widening your stance or simply grabbing a different band, so they'll grow with you as you get stronger.
You can explore a full range of high-quality loop resistance bands designed for every fitness level to see some of the top options available.
Floss Bands for Mobility and Recovery
Finally, we have floss bands—a secret weapon for mobility and recovery. These are thin, tight latex bands that you wrap firmly around a joint or muscle. The goal is to create intense compression, which temporarily restricts blood flow.
After moving the joint through its range of motion for a minute or two, you quickly unwrap the band. This creates a powerful rush of blood back into the area, which can help flush out inflammation, break up scar tissue, and dramatically improve joint mobility. Think of it as a DIY deep-tissue massage. If you’ve got a stiff ankle or a tight shoulder, a few minutes of "flossing" before a workout can make a world of difference.
Your Full-Body Resistance Band Exercise Library
Alright, let's get to the good stuff. Think of this as your personal training playbook—a complete library of my favorite, most effective resistance band exercises at home. We're going to break down each movement so you can nail the form, feel the right muscles working, and stay safe while building a balanced, powerful physique.
I'll walk you through the proper setup, breathing cues, and the common mistakes I see all the time. But most importantly, every exercise comes with a "make it harder" progression and a "make it easier" regression. This means your workouts grow with you, giving you a clear path forward no matter where you're starting from.
Upper Body Power and Posture
Building a strong upper body is about so much more than looks. It's the key to better posture, pain-free shoulders, and making daily activities feel like a breeze. Bands are fantastic for this because the constant tension is often much kinder on your joints than clunky free weights.
Banded Bent-Over Row
This is my go-to for carving out a strong, defined back. It hits all the key players—lats, rhomboids, and rear delts—that are essential for good posture and powerful pulling movements.
- How to do it: Step on the middle of your band with feet about hip-width apart. Hinge forward at the hips, keeping your back straight as a board, until your chest is nearly parallel to the floor. Grab the band ends with an overhand grip. Now, pull the band up toward your lower ribs, focusing on squeezing your shoulder blades together hard at the top.
- Breathing: Exhale on the pull, inhale as you slowly lower.
- Watch out for: A rounded back. This is a recipe for injury. Keep that core braced and your spine neutral from head to tail.
- Level up: Use a heavier band or really slow down the return trip, taking a full three seconds to lower the band.
- Scale it back: Grab a lighter band. You can also do this seated with the band looped around your feet for more support.
Banded Push-Up
If you've already mastered bodyweight push-ups, this is how you take them to the next level. The band adds a ton of resistance at the top of the movement—right where you're strongest—making your chest, shoulders, and triceps work overtime.
- How to do it: Drape a heavy-duty band across your upper back and loop the ends through your hands. Get into your classic push-up position. Lower yourself down with control, then explode back up against the band's resistance.
- Breathing: Inhale as you go down, and let out a powerful exhale as you press up.
- Watch out for: Sagging hips. Keep your glutes and core fired up to maintain a straight line from your head to your heels.
- Level up: It's simple—use a thicker, tougher band.
- Scale it back: Drop to your knees but keep the band. You'll still get a great workout.
Standing Bicep Curl
You can't beat a classic. The best part about using a band here is the continuous tension. Unlike dumbbells, the band makes your biceps work hard on the way up and on the way down.
- How to do it: Stand on the band with feet shoulder-width apart. Hold the handles with your palms facing forward. Lock your elbows at your sides and curl the handles toward your shoulders. Give your biceps a good squeeze at the top, then slowly return to the start.
- Breathing: Exhale as you curl, inhale as you lower.
- Watch out for: Using your back to swing the weight. If you're using momentum, the band is too heavy. Isolate the movement and make your biceps do the work.
- Level up: Step one foot further back on the band to shorten it and add tension from the very start.
- Scale it back: Work one arm at a time to really focus on perfect form.
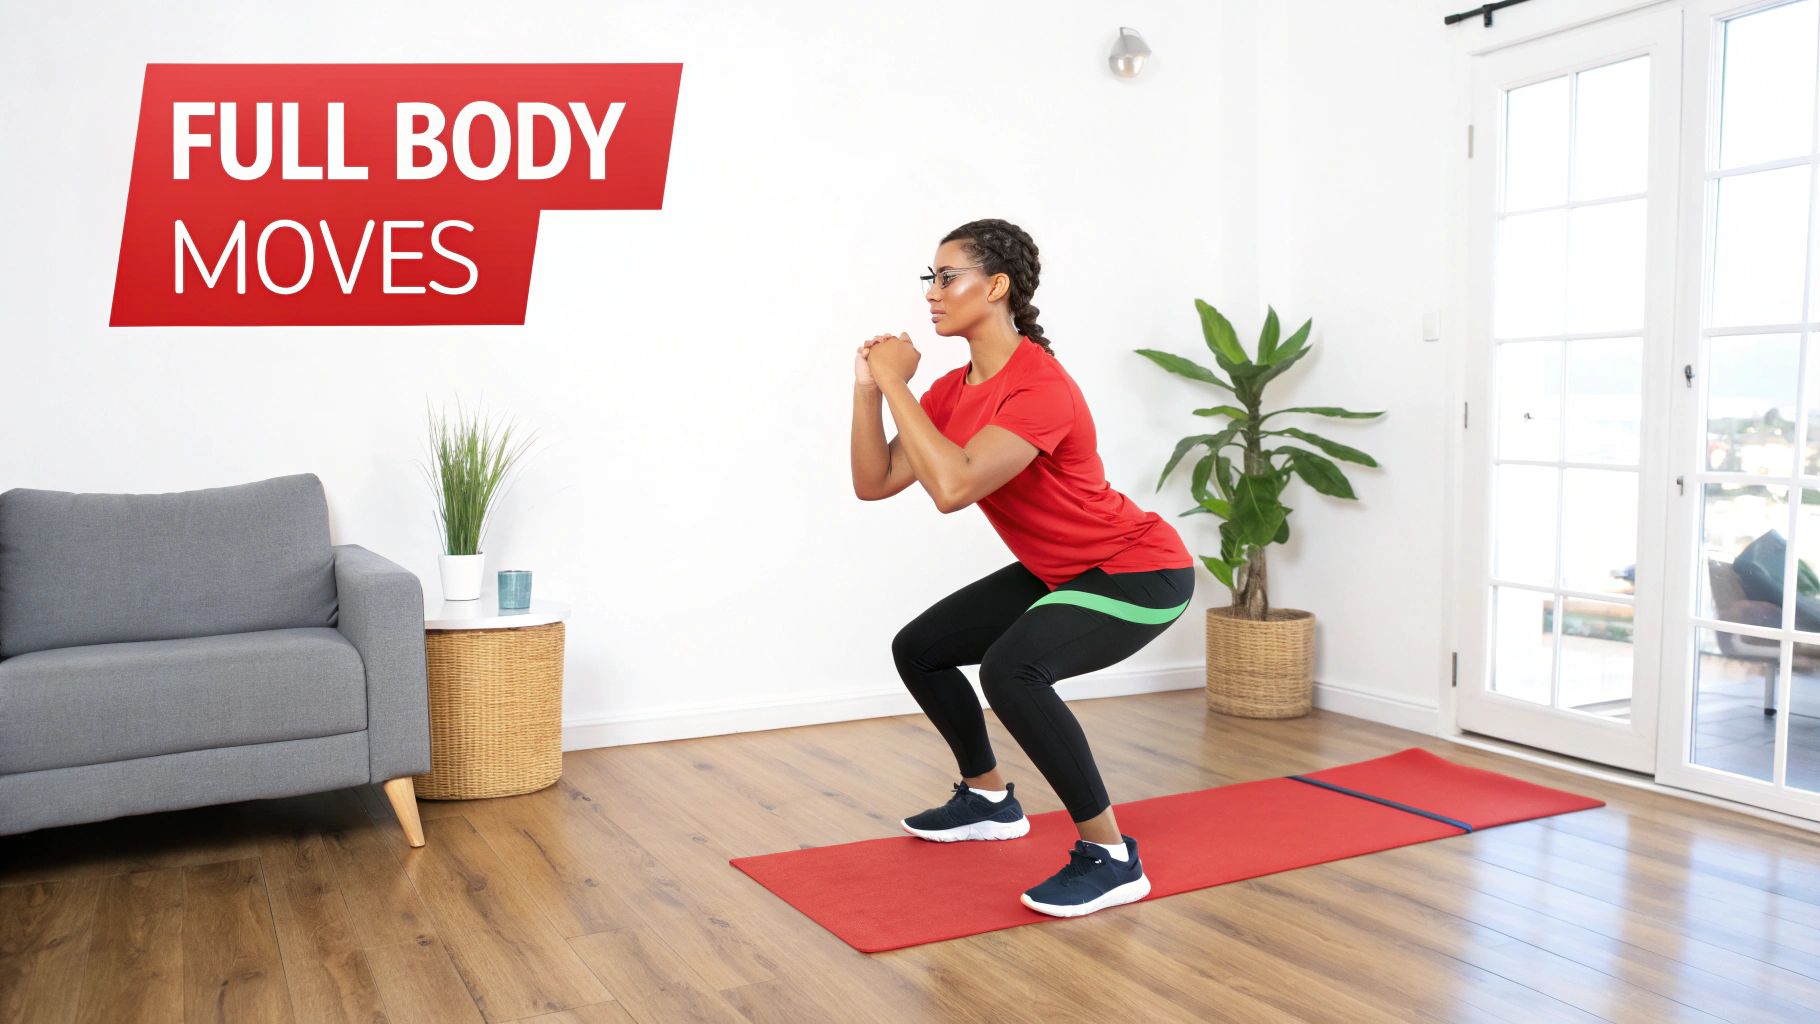
Lower Body Strength and Stability
Your legs and glutes are your body's engine. Training them properly builds functional power for everyday life, revs up your metabolism, and helps protect your knees and lower back from getting cranky.
The constant tension from a resistance band is particularly effective for glute activation. It forces the smaller, stabilizing muscles around your hips to fire, correcting common issues like knee valgus (knees caving inward) during squats.
Banded Goblet Squat
This is a phenomenal squat variation for building serious leg strength while teaching perfect form. The small band around your knees constantly reminds you to push them out, firing up your hip abductors.
- How to do it: Slide a mini loop band just above your knees. Hold one end of a heavier loop band at your chest with both hands (like you're holding a goblet) and anchor the other end under your feet. Keeping your knees pressed out against the mini band, sink into a squat until your thighs are parallel to the floor, then power back up.
- Breathing: Inhale on the way down, exhale as you drive up.
- Watch out for: Knees caving in. Your job is to actively fight the band and push your knees out through the whole rep.
- Level up: Use a heavier band for the goblet portion or a stronger mini band around your knees.
- Scale it back: Ditch the goblet band and just work with the mini band around your knees to focus on hip activation.
Banded Glute Bridge
This is one of the absolute best exercises for waking up and strengthening your glutes. The band not only adds resistance but also gives you that extra feedback to really feel your glutes working.
- How to do it: Lie on your back, knees bent, feet flat on the floor. Pop a mini loop band just above your knees. Drive through your heels to lift your hips off the floor, keeping your knees pressed out against the band. Squeeze your glutes like crazy at the top.
- Breathing: Exhale as you lift, inhale as you lower.
- Watch out for: Overarching your lower back. The movement should come from your hips and glutes, not your spine.
- Level up: Try it with one leg. Extend the non-working leg straight out while you bridge.
- Scale it back: Lose the band and just focus on a powerful, deliberate squeeze at the top of every rep.
Lateral Band Walk
Don't be fooled by how simple this looks. This move is a secret weapon for strengthening the gluteus medius, a crucial muscle for hip stability that helps prevent injuries, especially for runners.
- How to do it: Place a mini band around your ankles or just above your knees. Get into a shallow squat position. Take 10-15 controlled, sideways steps, keeping tension on the band the entire time. Your toes should always point straight ahead. Repeat in the other direction.
- Breathing: Just breathe naturally and steadily.
- Watch out for: Leaning your torso or using momentum to "swing" your leg. Stay low, stay controlled, and let your hips do all the work.
- Level up: A stronger band, or moving the band down around your ankles or feet, makes it much harder.
- Scale it back: Placing the band just above your knees is the easiest position.
Core Control and Rotational Strength
A rock-solid core isn't just for show—it's the foundation for every single movement you make. These exercises go beyond crunches to build a truly strong and resilient midsection.
Pallof Press
This is my favorite anti-rotation exercise for building a truly stable core. It trains your body to resist twisting forces, which is essential for protecting your spine in sports and in life.
- How to do it: Anchor a band at chest height. Stand sideways to the anchor and grab the band with both hands, pulling it to the center of your chest. Step away to create tension. With a slight bend in your knees, press the band straight out in front of you. The band will try to pull you back—don't let it.
- Breathing: Exhale as you press out, inhale as you bring your hands back in.
- Watch out for: Twisting your torso. The whole point is to keep your shoulders and hips locked in place, facing forward.
- Level up: Simply take another step away from the anchor point to increase the tension.
- Scale it back: Move closer to the anchor point to reduce the challenge.
Exploring different types of bands, like the versatile sets found in MONFIT's collection of resistance tube bands, can open up a world of new exercise possibilities for your home workouts.
Putting It All Together With Weekly Workout Plans
Having a list of great exercises is one thing, but the real magic happens when you bring them together with consistency. A solid, repeatable plan is what turns effort into results. That's exactly what these weekly blueprints are for—to take the guesswork out of your training so you can focus on getting your resistance band exercises at home done right.
I’ve laid out three different plans here, each built for a different fitness level. They all pull from the exercise library we've covered, with clear instructions for sets, reps, and rest. Just find the one that feels right for you, grab your bands, and get moving.
Beginner Foundation Plan: 3 Days a Week
If you're just starting out, this is your launchpad. The goal here is to build a solid foundation of strength and get comfortable with the movements. We’ll stick to full-body workouts, which are fantastic for teaching your body how to move correctly and improving overall fitness without completely wiping you out.
The schedule is simple and flexible. Do a workout, take a day off, do the next workout, and so on. A classic Monday, Wednesday, Friday split works great, leaving your weekends open for active recovery like a long walk or some stretching.
Workout A (Full Body)
- Banded Goblet Squats: 3 sets of 10-12 reps
- Banded Bent-Over Rows: 3 sets of 10-12 reps
- Banded Push-Ups (from your knees is fine!): 3 sets to your best effort
- Banded Glute Bridges: 3 sets of 15 reps
- Rest 60-90 seconds between sets.
Workout B (Full Body)
- Lateral Band Walks: 3 sets of 15 steps per side
- Standing Bicep Curls: 3 sets of 12-15 reps
- Pallof Press: 3 sets of 10 reps per side (hold for 2 seconds)
- Banded Glute Bridges: 3 sets of 15 reps
- Rest 60-90 seconds between sets.
Intermediate Strength Builder Plan: 4 Days a Week
Feeling ready to kick things up a notch? This 4-day plan splits your training between your upper and lower body. This approach lets you hit each muscle group with more focused work, which is a major key to building more strength and definition.
A good way to run this is Upper Body on Monday, Lower Body on Tuesday, rest on Wednesday, then repeat with Upper Body on Thursday and Lower Body on Friday. This gives every muscle enough time to recover before you hit it again.
Workout 1: Upper Body
- Banded Push-Ups: 4 sets of 8-12 reps
- Banded Bent-Over Rows: 4 sets of 8-12 reps
- Standing Bicep Curls: 3 sets of 10-15 reps
- Pallof Press: 3 sets of 12 reps per side
- Rest 60 seconds between sets.
Workout 2: Lower Body
- Banded Goblet Squats: 4 sets of 8-12 reps
- Banded Glute Bridges (try the single-leg version): 3 sets of 10 reps per leg
- Lateral Band Walks: 3 sets of 20 steps per side
- Rest 60 seconds between sets.
A piece of advice I always give: Consistency beats intensity every time, especially at the start. The real goal is building a habit that sticks. A short workout is infinitely better than no workout.
Advanced Conditioning Plan: 5 Days a Week
For those who have mastered the basics and are craving a serious challenge, this high-frequency plan is for you. It uses a "push, pull, legs" split, a classic method that allows for maximum focus on specific muscle groups each day with higher volume and intensity.
As you push your body this hard, recovery becomes non-negotiable. To keep making progress week after week, learning how to recover faster after workouts is a game-changer for your weekly routine.
This kind of dedicated home training is becoming more and more common. In fact, the U.S. resistance bands market was valued at $439.25 million and is expected to hit $769.71 million by 2030. That's a 75% increase, proving just how many people are embracing effective home workouts. It seems the new normal is a hybrid approach—a mix of gym days and convenient sessions at home.
Monday: Push Day
- Banded Push-Ups: 4 sets of 15-20 reps
- Banded Chest Flys: 3 sets of 15 reps
Tuesday: Pull Day
- Banded Bent-Over Rows: 4 sets of 12-15 reps
- Standing Bicep Curls: 4 sets of 12-15 reps
Wednesday: Leg Day
- Banded Goblet Squats (with a pause at the bottom): 4 sets of 10 reps
- Single-Leg Glute Bridges: 4 sets of 12 reps per leg
Thursday: Push Day
- Repeat Monday's workout and try to beat your previous rep count.
Friday: Full Body Conditioning
- Run through a circuit of all the major exercises, doing one set of each back-to-back with as little rest as you can manage. Repeat the full circuit 3-4 times.
Think of these plans as your starting framework. The most important thing is to listen to your body and adjust as you get stronger. And if you're getting serious about your setup, our guide on how to build a home gym has plenty of ideas to get you started.
7 Common Resistance Band Mistakes to Avoid
Working out effectively isn't just about the exercises you choose; it's also about steering clear of the common pitfalls that can derail your progress. When you're using resistance bands at home, a few frequent slip-ups can not only hold you back but, more importantly, put you at risk for injury. Let's walk through what to avoid so you can build a solid, safe, and effective fitness habit.
The biggest mistake I see? Letting the band control you, instead of the other way around. Too often, people put all their effort into the "pull" or "press" and then just let the band snap back to the start.
This uncontrolled recoil cheats you out of half the benefit of the exercise—that crucial lowering phase, or eccentric contraction. Even worse, it can jerk your joints into awkward, unsafe positions.
Expert Tip: Remember that the resistance works both ways. You have to consciously control the band through the entire movement, both on the way up and on the way down. That deliberate control is where true strength and stability are built.
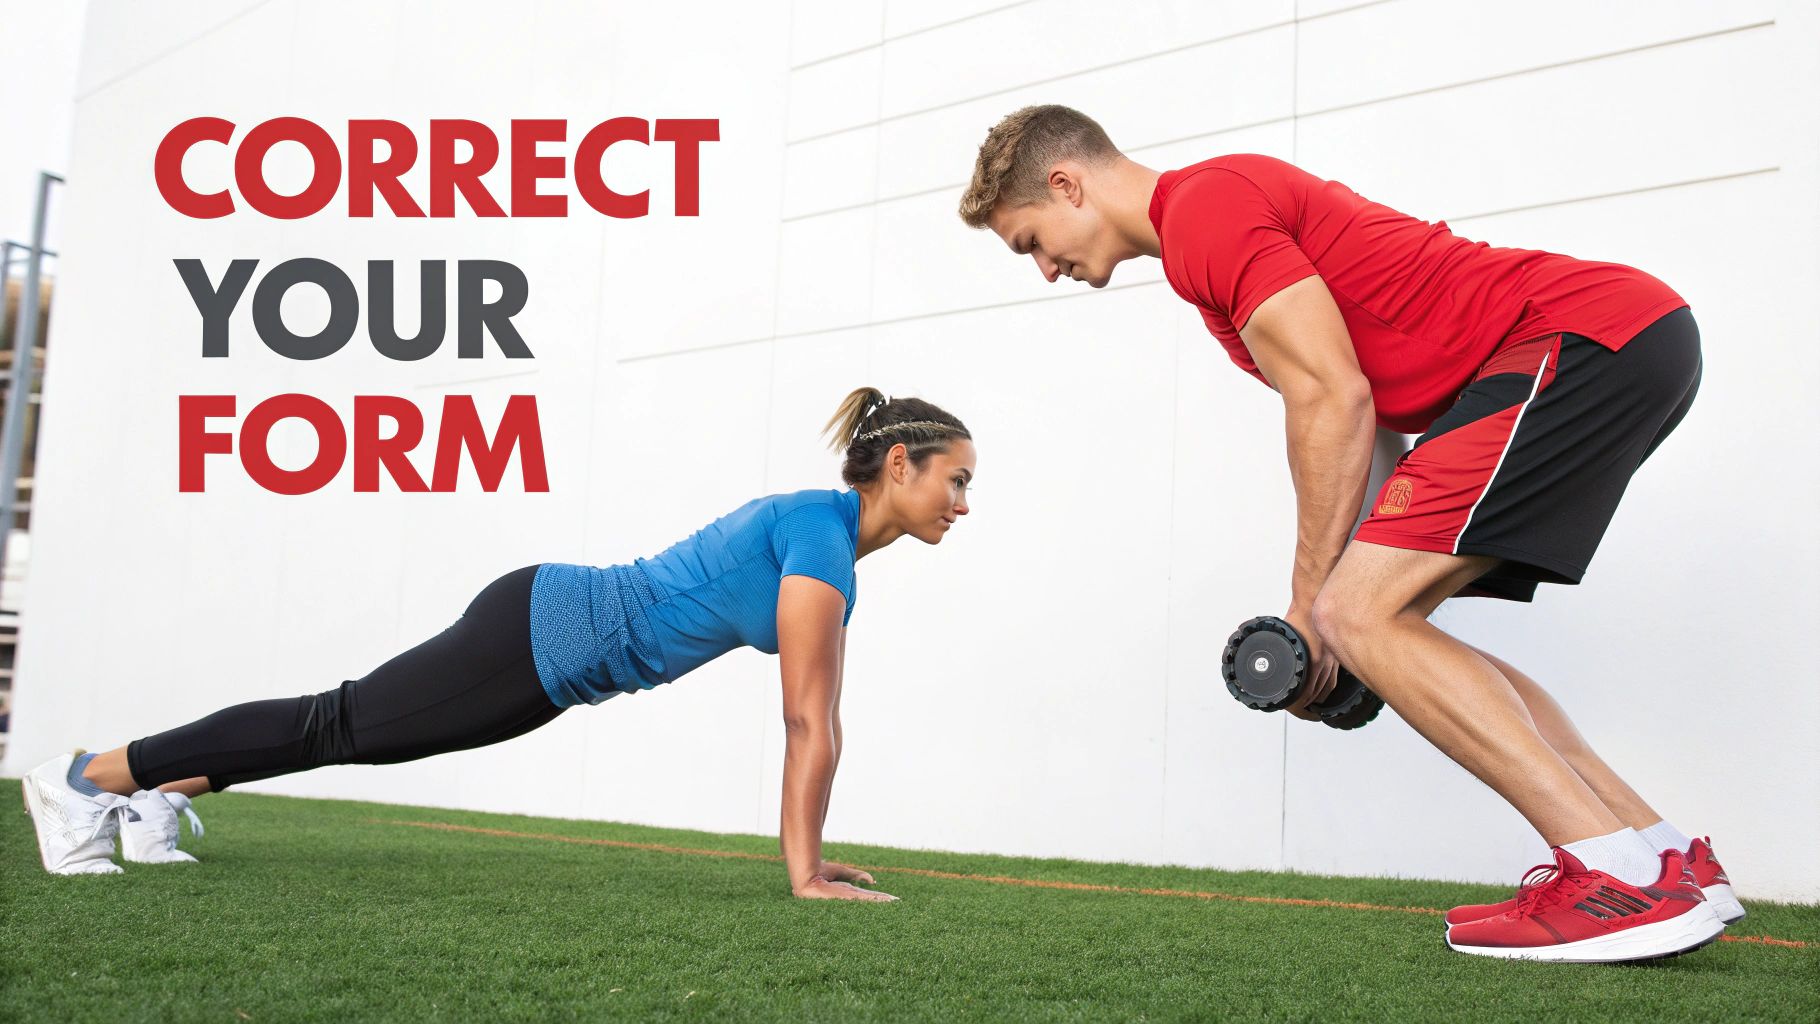
Sacrificing Form for a Heavier Band
We've all been there. It's tempting to grab the heaviest band in your set to feel like you're getting a "better" workout. But if you have to swing your body, use momentum, or contort your posture just to finish a rep, that band is too heavy for you. This is classic ego lifting, and it's a fast track to straining your lower back or shoulder joints.
Think about a bicep curl. Your elbows should be pinned to your sides. If you find yourself leaning back and thrusting your hips to get the band up, you're not actually working your biceps anymore. You're just cheating the movement and asking for trouble.
The solution is straightforward:
- Go lighter. There is zero shame in dropping down to a band that allows you to perform every single rep with perfect, controlled form.
- Focus on the feeling. Concentrate on the specific muscle you're trying to work. Feel it squeeze and engage through every inch of the exercise. This mind-muscle connection is key.
Using a Sketchy Anchor Point
So many great resistance band exercises, like rows, presses, and chops, rely on a solid anchor point. Trying to use something wobbly, like a chair leg or a loose doorknob, is just asking for disaster. If that anchor gives way while the band is under tension, it can snap back and cause a serious injury.
Before you start any anchored exercise, give your anchor a few good tugs from different angles. Make sure it's completely solid and won't budge under the load you're about to apply. Your safest bet is a dedicated door anchor, which comes with many MONFIT band sets. If you're unsure about the setup, it's always a good idea to check out the brand's FAQs for guidance.
Skipping Your Warm-Up and Cool-Down
Jumping straight into your workout without prepping your body is a huge mistake. Your muscles and joints need a chance to warm up so they can perform at their best and stay protected from injury. The great thing is, resistance bands are fantastic tools for this very purpose.
A quick and effective warm-up could look like this:
- Banded Pull-Aparts: A few sets of these are perfect for waking up your upper back and shoulders.
- Lateral Band Walks: Use a mini-band around your thighs or ankles to get those glutes firing.
- Banded Good Mornings: A light band is all you need to warm up your hamstrings and posterior chain.
Likewise, don't forget to cool down. A few minutes of mobility work with the bands can do wonders for your flexibility and recovery. Use them for some gentle, assisted stretches to release any tension you built up. Spending just five minutes on these crucial bookends to your workout can make all the difference.
Your Resistance Band Questions Answered
When you're jumping into something new, questions are a great sign—it means you're really thinking about how to get the most out of it. To make sure you feel totally confident tackling resistance band exercises at home, I've pulled together some of the most common questions I hear and given you some quick, no-nonsense answers.
Think of this as your quick-start guide to clear up any confusion and keep you moving forward.
Getting Started and Building Muscle
How do I know what resistance level to start with?
Here’s a great rule of thumb: pick a band that lets you perform 12-15 repetitions with solid, controlled form. The last few reps should be tough, but not so hard that your form falls apart. If you find yourself swinging or using momentum to finish a rep, that band is too heavy for now.
Can you actually build muscle with just resistance bands?
Yes, absolutely. The key to muscle growth is a principle called progressive overload, which is just a fancy way of saying you have to keep challenging your muscles. Bands are fantastic for this because they provide constant tension through the entire movement, forcing your muscles to adapt and grow.
As long as you're consistently upping the challenge—maybe by adding a few more reps, doing another set, or grabbing a stronger band—you can build serious strength and muscle.
Building muscle isn't about the specific tool you use; it's about the quality of the work you put in. The constant tension from bands is an incredible catalyst for growth, and it's often a lot kinder on your joints than super heavy free weights.
Band Care and Safety
How often should I replace my resistance bands?
Make it a habit to give your bands a quick once-over before every single workout. You’re looking for any small nicks, cracks, fading, or spots where the material looks thin and stretched out. A quality set of bands can last you a good one to two years with regular use.
But here’s the most important part: never, ever use a damaged band. It can snap without warning and lead to a nasty injury. It’s just not worth the risk.
What's the best way to anchor a resistance band at home?
Your safest and most flexible bet is a dedicated door anchor. It’s designed to wedge securely into a solid doorframe and stay put. You can also get creative by looping bands around heavy, stable furniture—think the leg of a heavy sofa or a support beam in your garage.
Before you start an exercise, always do these two things:
- Give it a test pull: Give the band a few firm tugs from different angles to make sure that anchor point isn't going anywhere.
- Check the surface: Run your hand over the anchor point to feel for any sharp edges that could fray or cut your band over time.
Ready to build your perfect at-home toolkit? MONFIT offers a complete range of durable, high-quality resistance bands designed for every fitness goal. Explore our collection and start your journey today at https://monfitness.com.


