

If you're just dipping your toes into strength training, resistance bands are hands-down one of the best places to start. They offer a fantastic, low-impact way to build muscle and really nail down the basic movements, all without the intimidation factor of a rack of heavy weights. They're pretty much perfect for kicking off your fitness journey right from your living room because they are a functional training tool that is both portable and easy to travel with.
Why Start Your Fitness Journey with Resistance Bands?
Ever walked into a gym and felt a little lost among all the clanking weights and complicated machines? I’ve been there, and so have many others. The good news is you don’t need any of that stuff to build real, functional strength. Resistance bands are simple, you can take them anywhere, and they're shockingly effective for getting a full-body workout.
Their magic comes from something called continuous tension. Think about lifting a dumbbell—it's heaviest at the start of the lift and feels lighter at the top. A resistance band is the exact opposite. It keeps the tension on your muscles through the entire range of motion. This constant work forces your muscles, especially all those smaller stabilizing ones, to fire up in a way that traditional weights often miss.
Because of this unique quality, exercises with resistance bands are incredibly easy on your joints. There's no sudden, jarring force on your tendons or ligaments, which seriously lowers your risk of injury while you're still figuring out proper form.
A Simple Tool with Big Results
Resistance bands are everywhere now, but they actually started out as a safe way for residents in nursing homes to build strength. When they hit the mainstream fitness scene in the early 2000s, people quickly caught on. In fact, a 2019 study confirmed what many trainers already knew: training with resistance bands can deliver strength gains that are on par with using conventional gym equipment. It’s a game-changer for anyone new to fitness.
This means you can build a seriously strong foundation at home, focusing on mastering those movement patterns before you even think about picking up a heavy weight. It’s all about setting yourself up for long-term success.
The Real-World Benefits for Beginners
Starting a new routine is tough, but resistance bands knock down a lot of the usual barriers. Their key benefits go way beyond just being a stand-in for weights.
- Workout Anywhere, Anytime: Bands are light and small enough to toss in a bag. This portability makes them one of the best pieces of home workout equipment essentials, letting you stick to your routine whether you're at home, in a hotel, or even at a park. Ease of travel is a huge plus.
- Grows With You: As you get stronger, you don't need a whole new set of weights. You can simply grab a heavier band, shorten your grip, or widen your stance to instantly up the challenge.
- Total-Body Versatility: From loop bands that are amazing for glute work to tube bands perfect for presses and rows, there's a band for literally every muscle. A single set of MONFIT bands can hit every major muscle group for a complete full-body workout.
What I love most for beginners is how bands help you develop a strong mind-muscle connection. That constant tension forces you to focus on squeezing the right muscle, which is absolutely crucial for good form and seeing real results.
So, where do you start? Let’s talk about picking the right band for you.
Choosing Your First MONFIT Resistance Band
For a beginner, a versatile set is always the smartest investment. Getting a few different resistance levels allows you to use the right tension for different exercises (you'll be much stronger on a squat than a bicep curl, for instance). Here’s a quick guide to help you choose from the MONFIT lineup of functional training tools.
| Band Type (MONFIT) | Best For Beginners | Primary Use Cases | Recommended Starting Tension |
|---|---|---|---|
| Glute Bands | Yes, perfect for lower body focus. | Hip thrusts, squats, glute bridges, leg abductions. Activating and strengthening glutes. | Medium resistance to learn form. |
| Pull-Up Assist Bands | Yes, excellent for building upper body strength. | Assisted pull-ups, squats, deadlifts, overhead presses. Can add or reduce resistance. | Light (40-80lbs) for assisted pull-ups or adding tension. |
| Resistance Tubes Kit | Yes, the most versatile all-in-one option. | Chest press, rows, bicep curls, tricep extensions, shoulder press. Mimics gym machine movements. | Start with the 10-20lb tubes and stack as you get stronger. |
| Long Loop Bands | Good, but can have a steeper learning curve. | Mobility, stretching, and adding resistance to barbell lifts. | Light (15-35lbs) for mobility and warm-ups. |
Ultimately, starting with a kit like the Resistance Tubes or a Glute Band Set gives you the most bang for your buck and the flexibility to grow.
By starting with bands, you’re not just exercising—you’re learning the language of your body's movement in a safe and effective way. You're building a base of strength that will support you for years to come.
Setting Up For A Safe And Effective Workout
Before you even think about starting your first rep, let's talk about setup. Taking just a few minutes to get your space and gear ready is one of the most important things you can do. It’s what makes your workout effective, and more importantly, it’s what keeps you safe.
Think of it like checking the tires before a road trip. You wouldn't just jump in the car and hope for the best, right? Same goes for your workout. A little prep goes a long way.
The biggest safety check, especially when you're using tube bands, is making sure you have a solid anchor point. If an anchor gives way while a band is under tension, it can snap back and cause a serious injury. This step needs your full attention, so let’s get it right.
Creating A Secure Anchor Point
Where you hook up your band dictates what exercises you can do and how safely you can do them. The good news is, you’ve got a few great options right in your home.
- Door Anchors: Your MONFIT tube band set likely came with a door anchor, and it's a fantastic tool. Just slip the looped end over the top of a sturdy door with the little stopper ball on the other side. Give it a good tug, then shut the door and lock it. Here's the pro tip: always anchor on the side of the door that closes towards you. This prevents the force of the band from yanking the door open.
- Sturdy Furniture: Look around for something heavy and absolutely immobile. A squat rack is perfect, but a solid bed frame or a hefty sofa can also work. Loop your band around a low, stable part of the furniture and pull hard to make sure it doesn’t even think about moving.
- Your Own Body: You are often the best anchor point. For moves like bicep curls or overhead presses, you just need to stand on the band. Place the middle of the band right under the arch of your foot (or both feet) for the most secure base. Standing on it with just your toes or heel is a recipe for it slipping out.
It's also critical to remember that how to warm up before exercise is a non-negotiable part of your setup. Just five to ten minutes of dynamic movement gets your blood flowing and tells your muscles it's time to work. If you're serious about creating a great workout environment at home, our guide on how to build a home gym has some great ideas for a safe and functional space.
This flow chart is a great visual guide for picking the right band to get started.
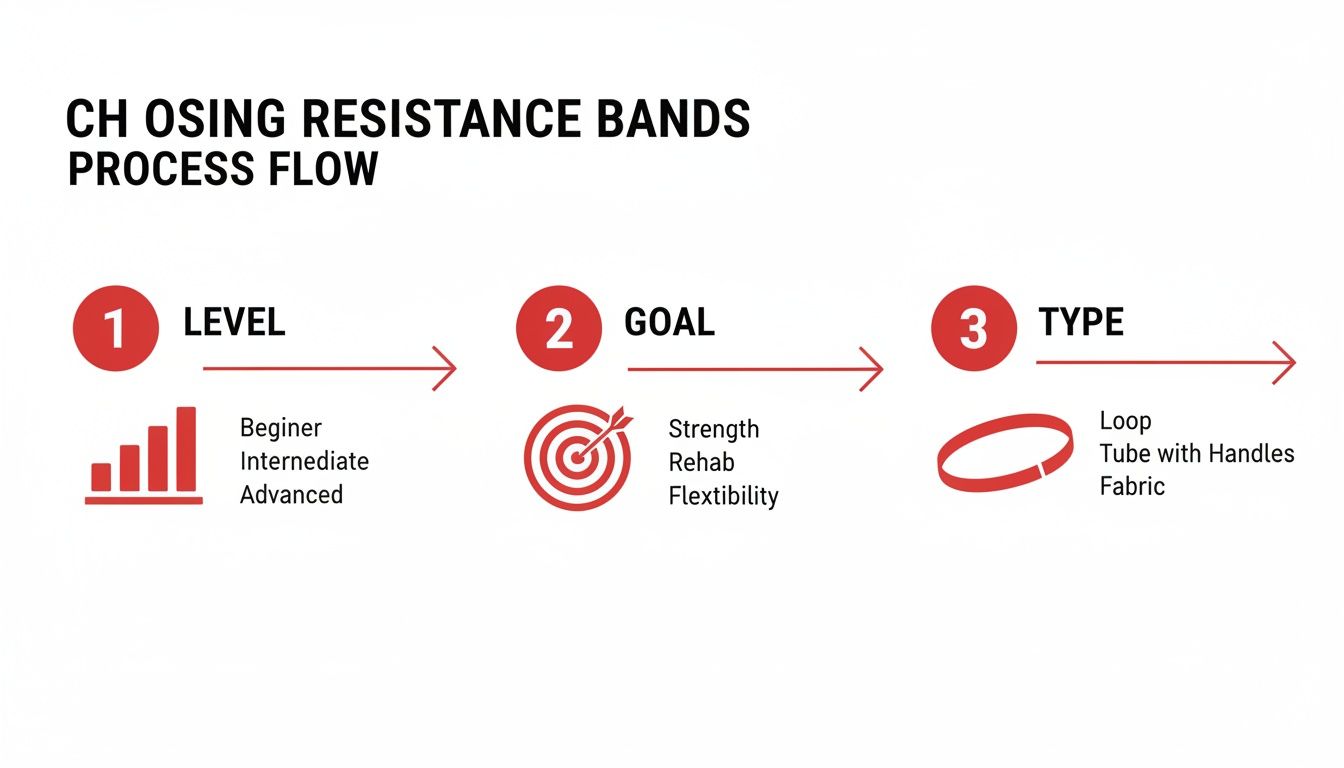
As you can see, it all comes down to matching your current fitness level with your goal. That simple formula will point you to the perfect band for the job.
Inspecting Your Gear And Mastering Your Grip
Make this a non-negotiable habit: before every single workout, give your bands a quick once-over. It takes less than 30 seconds. You're looking for any nicks, small tears, or even faded spots that could signal a weak point. If you spot any damage at all, retire that band immediately.
A band’s integrity is everything. A tiny tear can quickly become a full break under tension. Never take a chance with a damaged band—it’s simply not worth the risk of injury.
Finally, let's talk about grip. For tube bands, hold the handle firmly, but don't strangle it. A death grip will just tire out your forearms before you've even worked the target muscle. If you're using a loop band, wrap it securely around your palm or wrist. The key is to keep it lying flat, which spreads the pressure out so it doesn't dig into your skin.
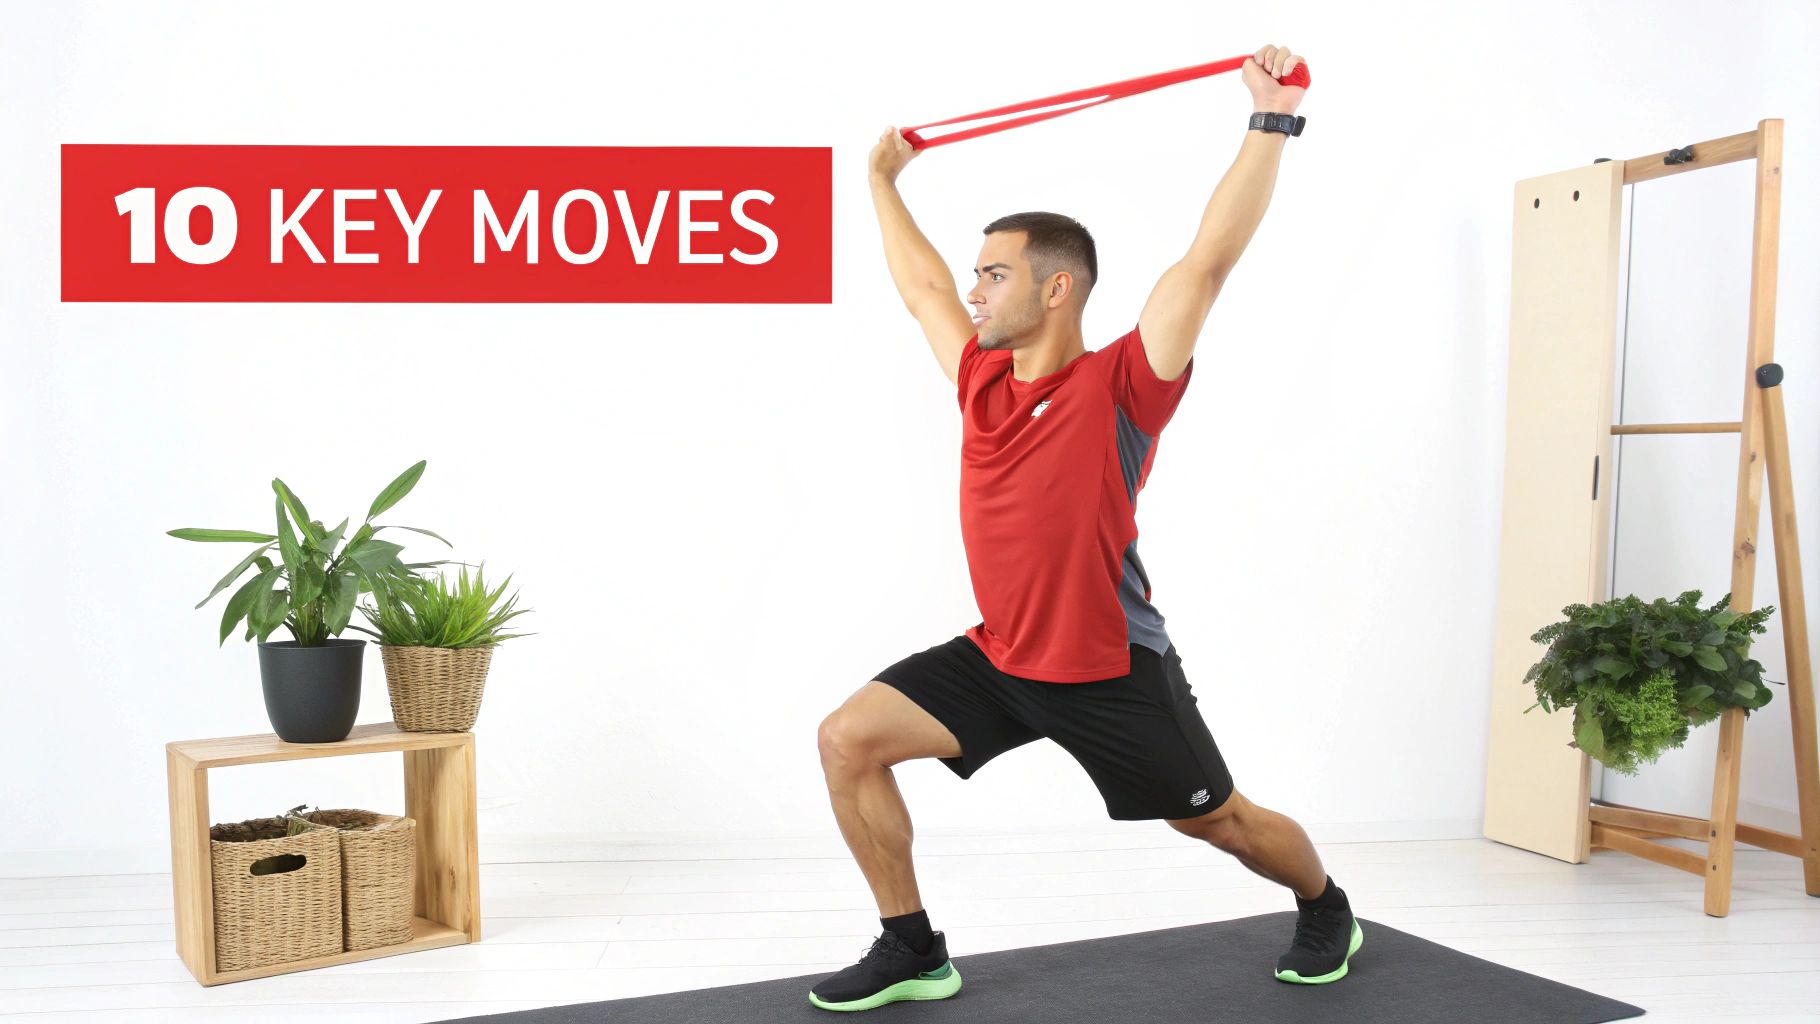
Mastering 10 Foundational Resistance Band Exercises
Alright, this is where the real work—and fun—begins. Once you get a handle on a few core movements, you can build an incredibly effective full-body workout that will build strength, shore up your stability, and make you feel more confident in your abilities.
Let's walk through 10 essential resistance band exercises that are perfect for beginners. I’ll break down exactly how to do them, what good form feels like, and how to tweak the difficulty as you get stronger.
As we go, really focus on developing a strong mind-muscle connection. That just means consciously thinking about and feeling the specific muscle you're working. It’s a skill that pays off big time, making sure every rep counts and you’re getting the most out of your effort.
1. Banded Squat
The squat is king for a reason—it’s the cornerstone of lower-body strength, hitting your quads, glutes, and hamstrings all at once. Adding a band ensures your muscles are engaged through the entire range of motion.
- How It's Done: Stand on the middle of a tube band or pull-up band with your feet about shoulder-width apart. Grab the handles or the ends of the band and bring them up to your shoulders, palms facing forward. Keep your chest lifted and back straight as you lower your hips down and back, like you’re sitting in a chair. Go as low as you can comfortably, then power back up through your heels to the starting position.
- Easier: Use a lighter band. If the form feels tricky, just do bodyweight squats to nail the movement first.
- Harder: Grab a heavier band or slow down the tempo. Try taking a full three seconds to lower down and one second to explode back up.
2. Glute Bridge
If you sit a lot, your glutes are probably underworked. This exercise is perfect for waking them up and strengthening them, which helps support your lower back and improves your posture.
- How It's Done: Lie on your back, knees bent, with your feet flat on the floor about hip-width apart. Slide a resistance loop band just above your knees. Press through your heels to lift your hips toward the ceiling, giving your glutes a hard squeeze at the top. The band is there to remind you to keep pushing your knees slightly outward—don't let them collapse inward! Lower back down with control.
- Easier: Ditch the band and just use your body weight.
- Harder: Hold that top position for a two-second count on every rep, really focusing on that peak glute contraction. Need more options? Check out our full range of resistance loop bands.
3. Standing Chest Press
Think of this as your on-the-go bench press. It builds strength in your chest, shoulders, and triceps—all the essential "pushing" muscles.
- How It's Done: Anchor a tube band behind you at chest height. Grab a handle in each hand and take a step or two forward until the band is taut. Get into a staggered stance for better balance. From there, press the handles straight out in front of you until your arms are fully extended. Squeeze your chest muscles, then slowly bring your hands back to the starting position.
- Easier: Just take a step back toward the anchor point. Less tension makes it more manageable.
- Harder: Step further away from the anchor or level up to a stronger band.
4. Seated Row
The row is the perfect partner to the chest press. It strengthens your back and biceps, creating a balanced upper body and pulling your shoulders back for better posture.
- How It's Done: Sit on the floor with your legs straight out in front of you. Loop the middle of a tube band around the arches of your feet. Hold a handle in each hand and sit up tall, keeping your back straight. Now, pull the handles toward your torso, squeezing your shoulder blades together as if you’re trying to pinch a pencil between them. Keep your elbows tucked in close to your sides. Slowly extend your arms to return.
- Easier: Bending your knees a bit will reduce the band's tension.
- Harder: Pause for a two-count at the peak of the row. This extra time under tension really works the back muscles.
5. Bicep Curl
It's a classic for a reason. The bicep curl is a straightforward way to isolate and build the muscles on the front of your upper arms.
- How It's Done: Stand on the middle of a tube band with either one or both feet. Hold the handles down at your sides with your palms facing forward. Keep your elbows locked to your sides and curl the handles up toward your shoulders. Give your biceps a good squeeze at the top, then lower the handles back down slowly and with control.
- Easier: Lighten the load by standing on the band with just one foot.
- Harder: Put both feet on the band and stand with them wider apart. This pre-stretches the band and makes the curl tough from the very start.
6. Overhead Triceps Extension
This move directly targets the triceps—the muscles on the back of your arms. It's great for toning and adding balanced strength to your upper body.
- How It's Done: Get into a staggered stance and anchor the band securely under your back foot. Grab one handle with both hands and press it straight overhead. Keeping your elbows pointed to the ceiling and close to your head, lower the handle behind you until your elbows form a 90-degree angle. Then, press back up to the top.
- Easier: Switch to a lighter band.
- Harder: Slow down the lowering part of the movement. Try a three-count on the way down to really challenge your triceps.
One of the best things about resistance bands for beginners is how they let you safely work up to more advanced exercises. You can use MONFIT pull-up bands to assist with pull-ups or dips, for example, building the strength you need until you can do them on your own.
This is a proven strategy. Research on young athletes found that elastic training had lower dropout rates than traditional weight training, mainly because it feels less intimidating and more approachable. As a beginner, you can see fantastic results just by starting with five core moves recommended by NASM, like banded squats, and performing them for 2 sets of 15 reps, twice a week. This is a great way to effectively target your quads, glutes, and core. For more on this, you can see what experts have to say on health.clevelandclinic.org.
7. Lateral Raise
Want stronger, broader-looking shoulders? The lateral raise is your go-to. It specifically targets the middle part of your deltoid muscle.
- How It's Done: Stand on a tube band with one or both feet, holding the handles at your sides with your palms facing in. Maintain a slight bend in your elbows as you raise your arms out to the sides, stopping when they’re parallel to the floor. Lower them back down slowly.
- Easier: Use a lighter band or stand on it with just one foot to reduce the tension.
- Harder: Add a one-second pause at the very top of the movement. You’ll feel the burn!
8. Band Pull-Apart
This simple move is an absolute game-changer for posture. It strengthens all those small, stabilizing muscles in your upper back and shoulders that get neglected.
- How It's Done: Stand with your feet shoulder-width apart. Hold a loop band or tube band in front of you at chest height with both hands, about shoulder-width apart. Keeping your arms straight, pull the band apart by squeezing your shoulder blades together. Return to the starting position with control.
- Easier: Grab a lighter band or start with your hands a little closer together.
- Harder: Use a heavier band and really focus on a slow, controlled return—don't just let it snap back.
9. Monster Walk
Don't let the name fool you; this is a killer exercise for your glutes and hips. It’s fantastic for building hip stability, which can help prevent knee pain down the road.
- How It's Done: Place a loop band around your ankles or just above your knees. Sink into a slight squat with your feet hip-width apart—enough to create tension in the band. From there, take slow, deliberate steps forward, alternating legs. The key is to never let your feet touch, keeping tension on the band the whole time.
- Easier: The higher the band, the easier it is. Placing it above your knees is less challenging than at your ankles.
- Harder: Go with a heavier band or try taking wider steps.
10. Deadlift
The deadlift is a powerhouse movement that works your entire posterior chain—your glutes, hamstrings, and lower back. Using a band is a safe way to learn this crucial movement pattern.
- How It's Done: Stand with both feet, hip-width apart, on a tube or long loop band. Hinge forward at your hips (not your waist), keeping your back straight, and grab the band with both hands. To stand up, drive your hips forward and squeeze your glutes hard at the top. Slowly hinge back down to the starting position.
- Easier: Simply use a lighter band.
- Harder: Widen your stance. This puts more tension on the band right from the start.
Your First Workout Routine
Ready to put it all together? Here is a simple, effective full-body workout you can do 2-3 times per week. Make sure to take at least one day off in between sessions for recovery.
| Day | Exercise | Sets x Reps | Focus Area |
|---|---|---|---|
| Day 1 | Banded Squat | 3 x 12-15 | Lower Body |
| Standing Chest Press | 3 x 12-15 | Upper Body Push | |
| Seated Row | 3 x 12-15 | Upper Body Pull | |
| Glute Bridge | 3 x 15-20 | Glutes & Core | |
| Day 2 | Rest or Active Recovery (e.g., walk, stretch) | - | - |
| Day 3 | Deadlift | 3 x 12-15 | Posterior Chain |
| Bicep Curl | 2 x 15 | Arms | |
| Overhead Extension | 2 x 15 | Arms | |
| Band Pull-Apart | 2 x 20 | Shoulders/Back | |
| Day 4 | Rest or Active Recovery | - | - |
| Day 5 | Repeat Day 1, trying to improve form or reps | - | Full Body |
Focus on good form over everything else. Once you can comfortably complete all the reps and sets, that’s your cue to either move up to a stronger band or try one of the "Make it Harder" variations.
Common Beginner Mistakes And How To Fix Them
Starting out with resistance bands is a fantastic move, but let's be real—it's easy to make a few mistakes when you're learning the ropes. Don't sweat it. Think of these little slip-ups as part of the learning curve, not failures. Knowing what to look out for ahead of time can help you nail your form, stay safe, and get the most out of every single rep.
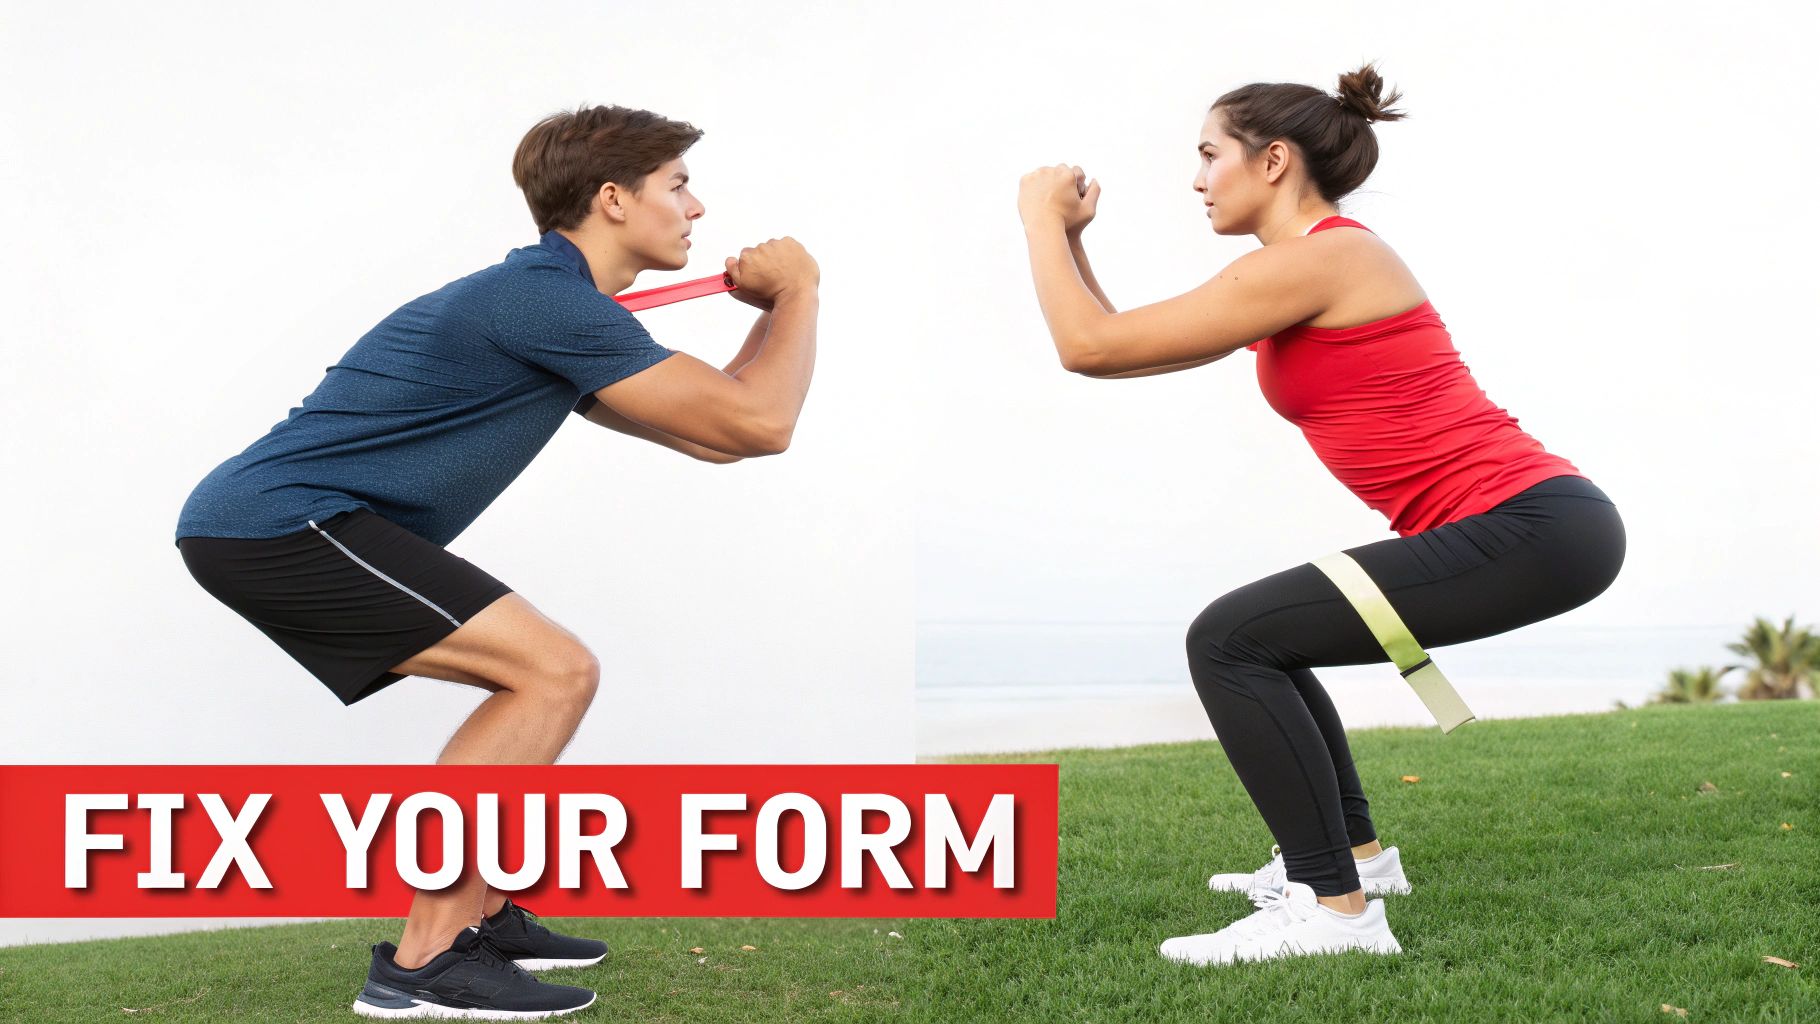
This is your go-to troubleshooting guide. We'll walk through the most common errors I see beginners make and give you simple, actionable ways to fix them on the spot.
Sacrificing Form For Reps
This is the big one, and it happens in every type of training, not just with bands. It's that urge to just power through and hit a certain number of reps, even if your form starts getting sloppy. With bands, this not only cheats you out of a good workout but can also put a lot of stress on the wrong joints, leading to strains or injuries.
Ever been doing a banded squat and noticed your knees caving in or your back starting to round toward the end of a set? That's your body's way of telling you that form is breaking down.
The Fix: Always, always choose quality over quantity. Doing eight perfect reps is a million times better than doing fifteen sloppy ones. Slow down your movement, really think about the muscle you're trying to work, and stop the set as soon as you feel you can't hold your form any longer.
Letting The Band Go Slack
The whole point of resistance bands is the constant tension they create. One of the most common mistakes is letting that tension disappear at the beginning or end of a rep. This gives your muscles a little break, which completely defeats the purpose of the exercise.
A perfect example is a bicep curl. If you let your arm drop all the way down until the band is loose and floppy, you've just lost all the resistance at the bottom of the movement.
Key Insight: To get the best muscle activation, you need to keep tension on the band from the very start of the movement to the very end. The band should already be a little taut before you even begin your first rep.
The Fix: Before you start any exercise, just adjust your position. Step a little further from your anchor point or widen your stance until you feel a gentle pull from the band. This creates a "pre-tension" that ensures your muscles are engaged through the entire range of motion, with no sneaky rest breaks.
Feeling The Exercise In The Wrong Place
Ever done a set of seated rows trying to work your back, only to feel it all in your biceps and forearms? Or a chest press that just made your shoulders sore? This is a classic sign that your setup or technique needs a quick tweak.
Usually, this happens because your anchor point is at the wrong height, your body isn't positioned correctly, or stronger "helper" muscles are jumping in to take over the work from the muscle you're actually trying to target.
The Fix: This one just takes a bit of detective work. Let's use the chest press example where your shoulders are doing all the work.
- Check Your Anchor Height: Your anchor point should be directly behind you, right at the middle of your chest. If it's too high or too low, it's going to pull your shoulders into a position where they naturally take over.
- Adjust Your Elbow Position: As you press forward, your elbows should be tucked in at about a 45-degree angle to your body. Flaring them out wide and parallel to your shoulders is a fast track to shoulder strain.
- Squeeze Your Shoulder Blades: Before you even start the press, pull your shoulder blades back and down. This small adjustment helps lock your shoulders into a stable position and forces your chest muscles to do the heavy lifting.
By learning to make these small, mindful adjustments, you can start to self-correct your form on the fly. This will lead to much safer and way more effective workouts.
Building Your First Routine And Tracking Progress
Knowing how to do a few exercises is one thing, but the real magic happens when you bring them together with consistency. A solid routine is what builds momentum and gets you the results you're after. It takes the guesswork out of your workouts, ensuring you’re working your body in a balanced way while giving it the time it needs to recover and get stronger.
Let's dive into how to build a workout plan you can actually stick with.
Sample Beginner Workout Schedules
You don't need to live in the gym to see real progress, especially when you're just starting out. Kicking things off with two or three focused sessions per week is the perfect way to build a solid foundation without burning out.
Here are a couple of simple, effective schedules to get you going.
Option 1: The Three-Day Full-Body Routine This is a fantastic place to start. You'll hit every major muscle group multiple times a week, which is a great way to nail down your form and build that initial layer of strength.
- Monday: Full-Body Workout
- Tuesday: Rest or Active Recovery (think a brisk walk or some light stretching)
- Wednesday: Full-Body Workout
- Thursday: Rest or Active Recovery
- Friday: Full-Body Workout
- Saturday & Sunday: Rest
Option 2: The Two-Day Upper/Lower Split This approach lets you zero in on specific muscle groups with a bit more intensity during each workout.
- Monday: Upper-Body Workout (Chest Press, Rows, Bicep Curls)
- Tuesday: Rest
- Wednesday: Lower-Body Workout (Squats, Glute Bridges, Deadlifts)
- Thursday: Rest
- Friday, Saturday, Sunday: Rest or Active Recovery
The Key to Getting Stronger: Progressive Overload
If you want to keep seeing results, you have to keep challenging your muscles. It's a simple concept called progressive overload, and it's the bedrock of all strength training. With resistance bands, you don't need a whole new rack of equipment to do it.
Here are a few easy ways to turn up the heat:
- Add More Reps or Sets: If you did 12 reps last week, shoot for 14 this week.
- Grab a Heavier Band: Once you can comfortably hit your target reps with perfect form, it's time to level up to the next MONFIT band.
- Widen Your Stance: For exercises where you stand on the band, just moving your feet a few inches wider instantly increases the tension right from the start.
And it works. A 2022 analysis that looked at 18 trials with 669 people found that resistance bands were actually more effective than free weights or bodyweight exercises for reducing body fat percentage. It's all thanks to the constant tension bands provide, which safely challenges your muscles through their entire range of motion.
Don't Forget Recovery And Nutrition
Your workout is just one piece of the puzzle. Your muscles don't get stronger during the exercise; they rebuild and grow on your rest days.
This is where active recovery comes in. Using tools like MONFIT's floss bands can be a game-changer for improving mobility and easing soreness, getting you ready to go for your next session. Proper usage techniques are key, ensuring the floss band is wrapped securely but not too tightly to promote blood flow without causing numbness. Fueling your body properly is also non-negotiable. As you start getting stronger, make sure you're eating right—exploring the best snacks for building muscle can give you some great ideas.
Tracking your progress is one of the most powerful motivators you have. Seeing on paper that you’re lifting more or doing more reps provides concrete proof that your hard work is paying off.
A Simple Way To Track Your Workouts
You don't need a complicated app or spreadsheet. Honestly, a simple notebook or a note on your phone is all it takes to start a workout log. This tiny habit holds you accountable and gives you a clear picture of how far you've come.
Here’s a dead-simple template to get you started:
| Date: [MM/DD/YY] | Exercise | Band Used | Sets x Reps | Notes |
|---|---|---|---|---|
| Workout: Full Body A | Banded Squat | Green Tube | 3 x 12 | Felt strong, could add a rep next time. |
| Seated Row | Green Tube | 3 x 10 | Form felt a little shaky on the last two reps. | |
| Glute Bridge | Red Loop | 3 x 15 | Really felt the squeeze. |
Keeping a log like this turns fitness from a chore into a journey with visible milestones. It’s a simple tool, but the difference it makes in keeping you motivated is huge. For more ideas on keeping your workouts fresh, especially on the go, check out our guide on the best portable home gym equipment.
Got Questions About Resistance Bands? We've Got Answers.
Jumping into a new piece of fitness gear always brings up a few questions. That's totally normal. Getting those questions answered is the best way to feel confident and know you're training safely right from the get-go. Let’s tackle some of the most common things beginners ask about resistance bands.
How Often Should I Train With Bands As A Beginner?
When you're just starting out, a great target is two to three times per week. The key is to schedule these workouts on non-consecutive days—think Monday, Wednesday, and Friday. This gives your muscles the downtime they need to repair and get stronger.
Once you feel more comfortable and the workouts start to feel a little easier, you can think about adding another day. But always, always listen to your body. If you’re feeling wiped out or unusually sore, an extra rest day is your best friend.
Can I Really Build Muscle With Just A Bunch Of Bands?
You absolutely can. Building muscle is all about a principle called progressive overload, which is just a fancy way of saying you need to keep challenging your muscles over time. It's not just theory, either—a 2019 study showed that training with bands can deliver strength gains that are right on par with using traditional weights at the gym.
The trick is to make sure you’re working your muscles hard enough to get tired within an 8-15 rep range. With bands, you can do this in a few smart ways:
- Grab a heavier band with more tension.
- Widen your stance or anchor point to create a bigger stretch.
- Slow your reps way down to increase how long the muscle is working.
I'm A Total Newbie. Which Band Should I Get?
For someone completely new to this, your best bet is to get a set that offers a variety of bands and resistance levels. A kit that includes different types like loop bands, pull-up bands, and tube bands with handles will cover pretty much all your full-body workout needs.
This gives you the right tool for the job. Loop bands are fantastic for squats, glute bridges, and other lower-body work. The tube bands are my go-to for classic upper-body moves like chest presses, rows, and bicep curls. If you're ever unsure, start with the lightest band you have. Nail your form first, then worry about adding more resistance. For even more details, you can always check out our full FAQs on MONFIT's site.
The key for a beginner is having options. Your legs are naturally much stronger than, say, your shoulders. Having a range of bands ensures you can apply the right challenge to every muscle group without overdoing it.
How Do I Know When It's Time For A Heavier Band?
This is a great question, because knowing when to level up is how you keep making progress. My rule of thumb is this: when you can finish all your planned sets and reps with perfect form—and the last few reps don't feel like a real struggle anymore—it's time.
Let's say your program calls for 3 sets of 12 reps. If you breeze through them and could have easily done 15 reps without your form getting sloppy, that’s your sign. Time to reach for the next MONFIT band up in the set. That’s progressive overload in real-time, and it's the secret sauce for getting stronger.
Ready to see what this incredibly versatile functional training tool can do for you? The MONFIT Resistance Band Sets are built to grow with you, giving you the durability and variety you need to build strength effectively, wherever you are.
Explore MONFIT Resistance Band Kits and begin your workout today!


